
Membership Directory
In order to access the member directory, you must be a member at Saint Michael and have an activated login. If you did not receive an email to activate your login, please fill out this form to request access.
Please note: The activation email will come from saintmichael@ccbchurch.com with a subject line of “New Login Created.” *If this email is not in your inbox, check your junk and/or spam folder.
There are two ways to access the Member Directory: 1) from a desktop or laptop* or 2) from the Saint Michael App.
*Please note: For the best experience, please view the Member Directory on a desktop or laptop.
Access the Member Directory from a Desktop or Laptop
Access the Member Directory from the App
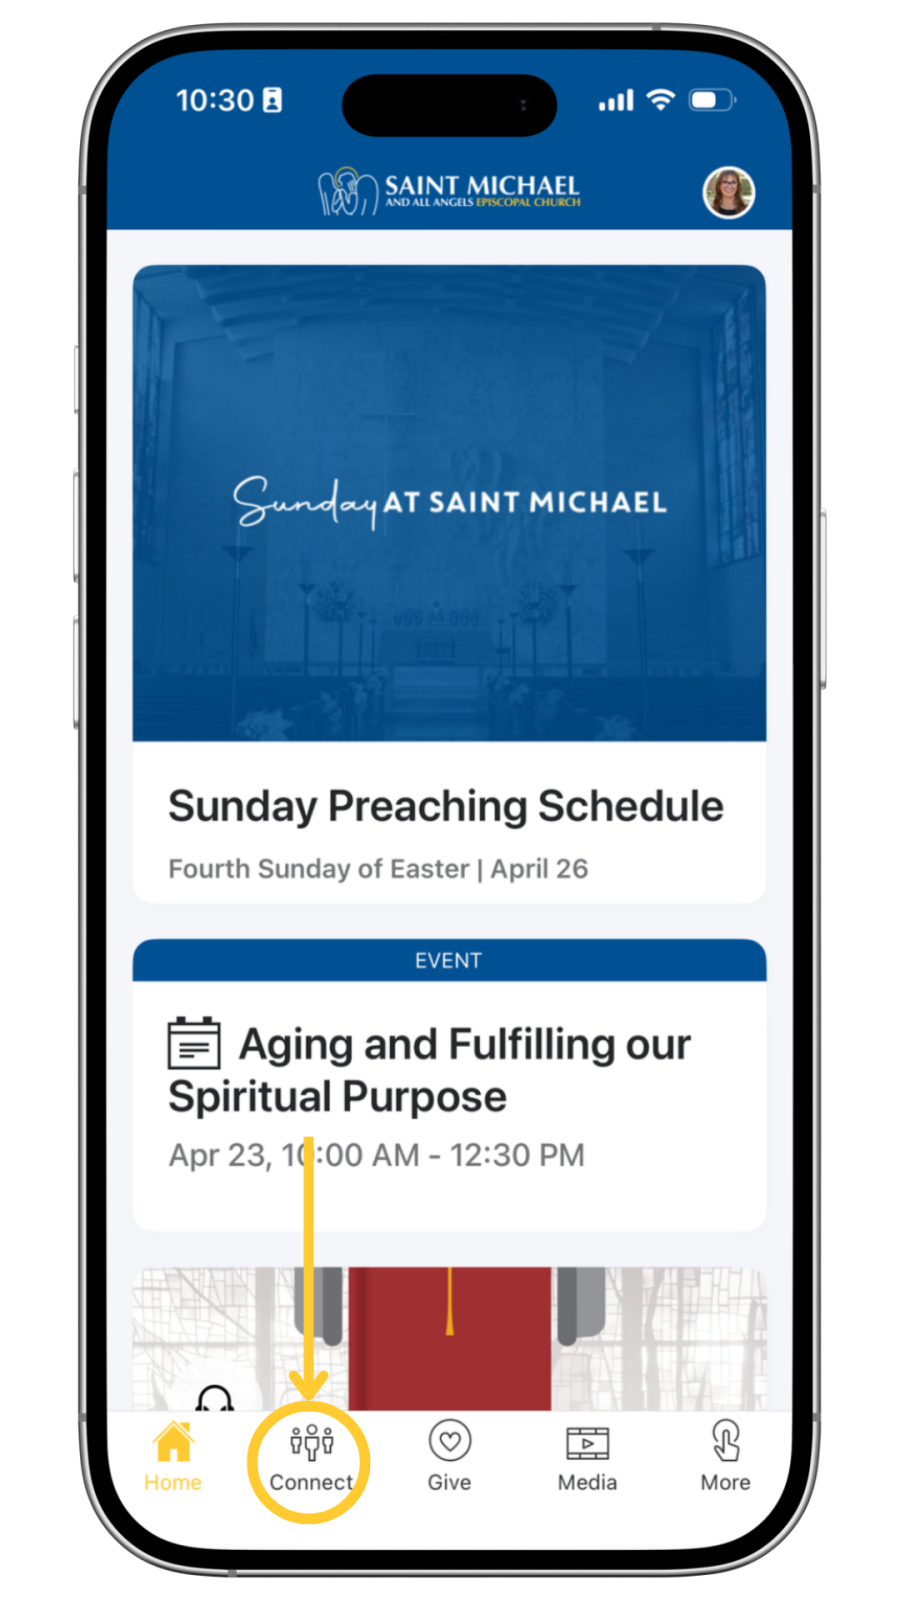
- From the Home Screen in the Saint Michael App, click on the “Connect” tab in the bottom bar.
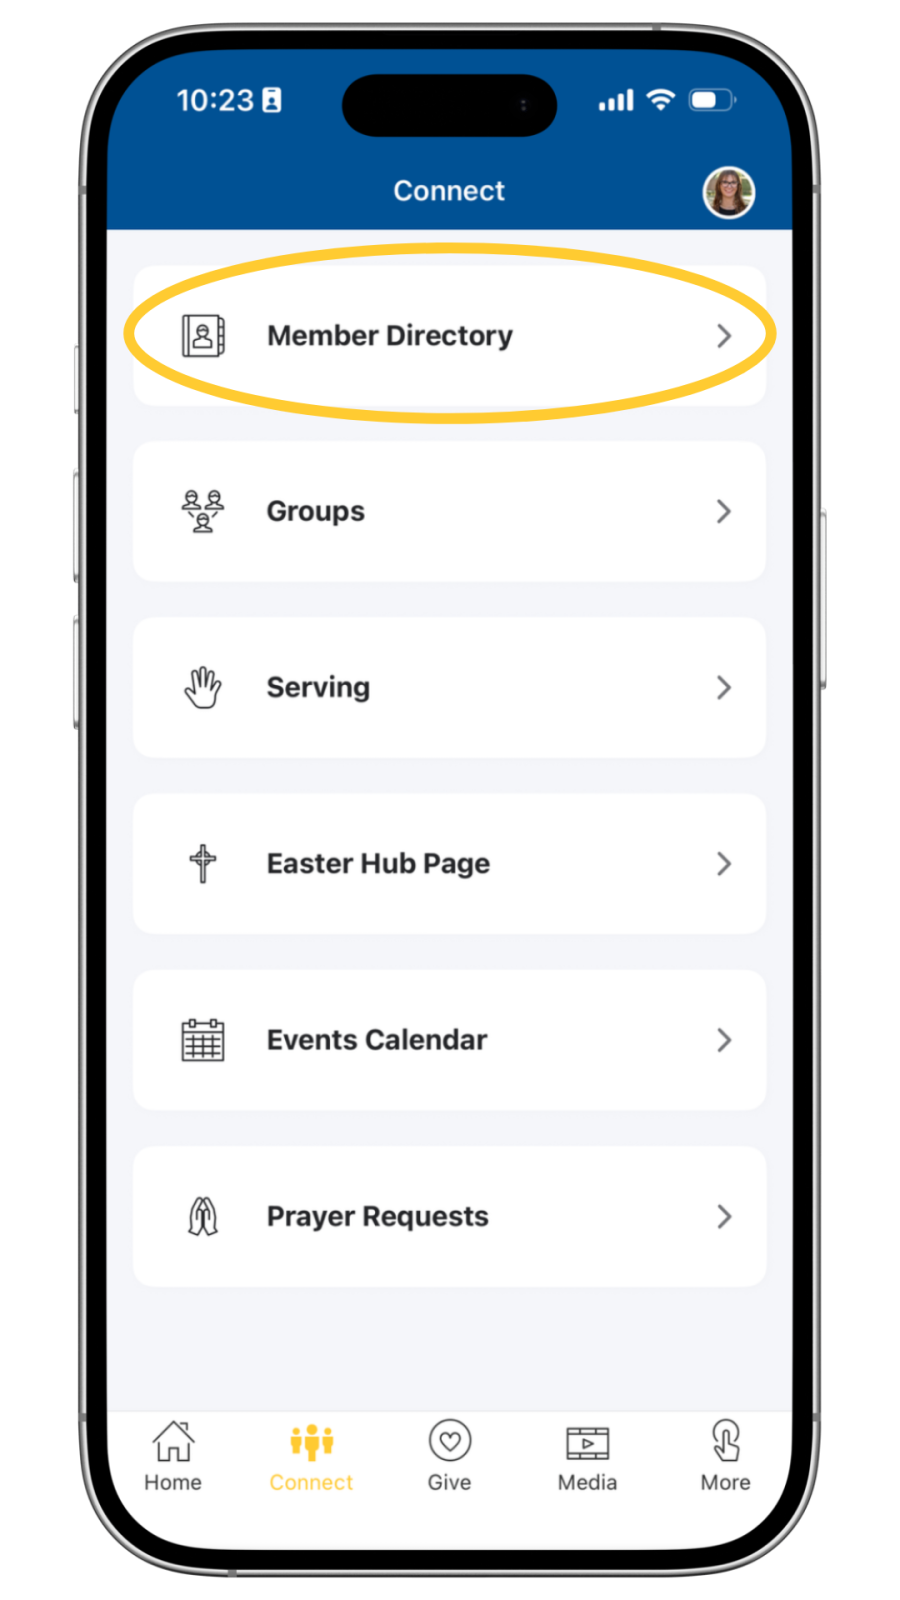
- In the Connect tab, choose “Member Directory.”
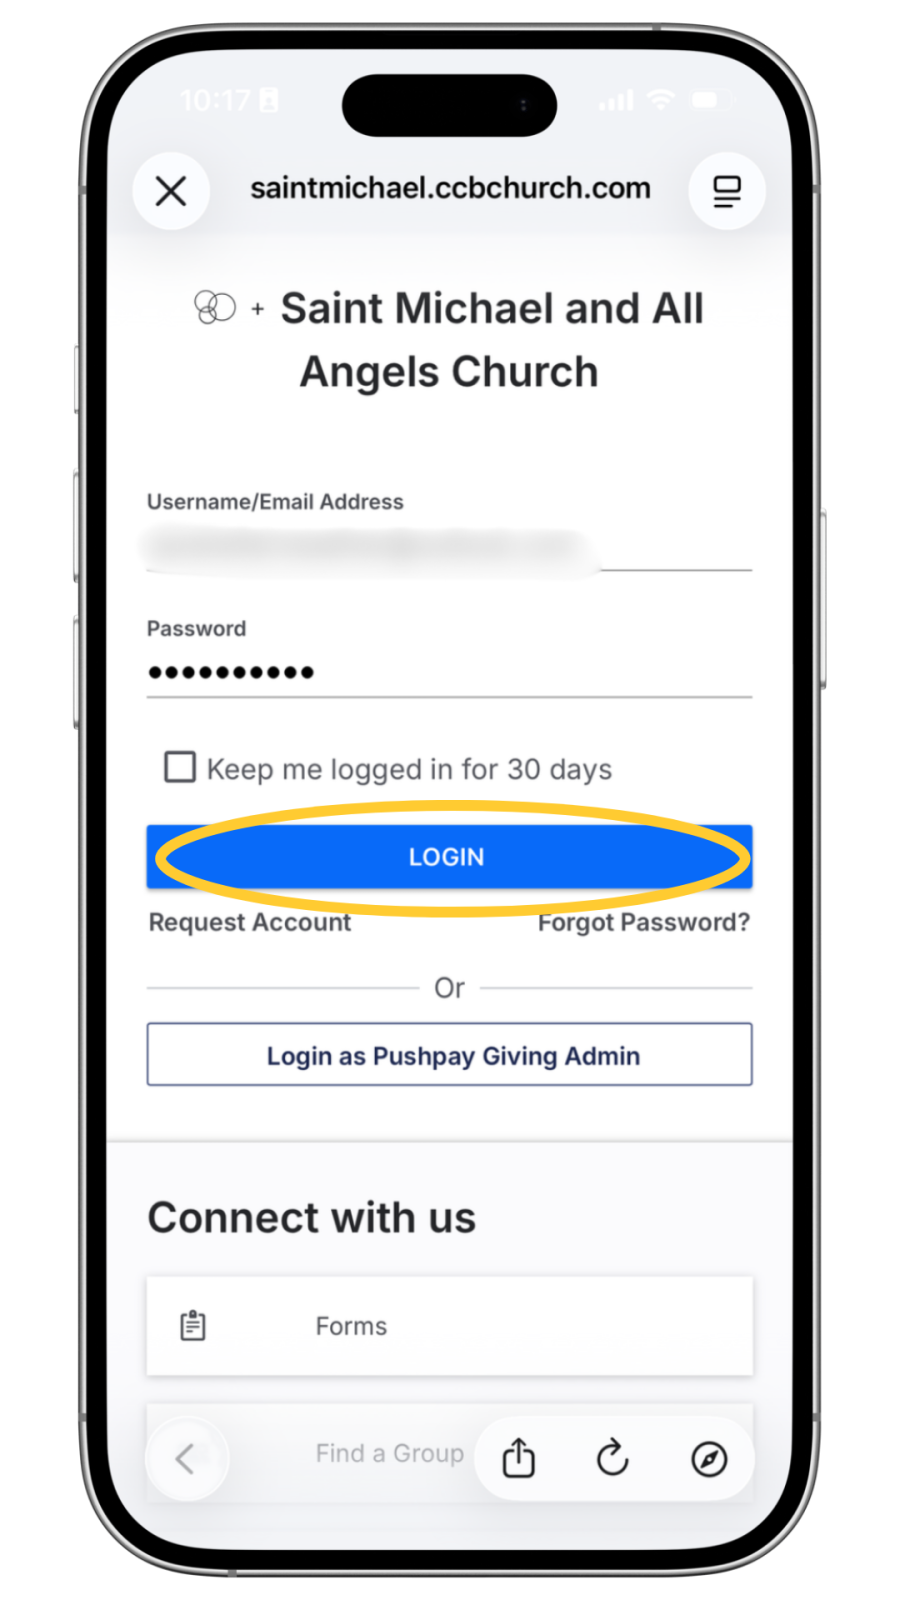
- Enter your Username/Email Address and Password. Click “login.”
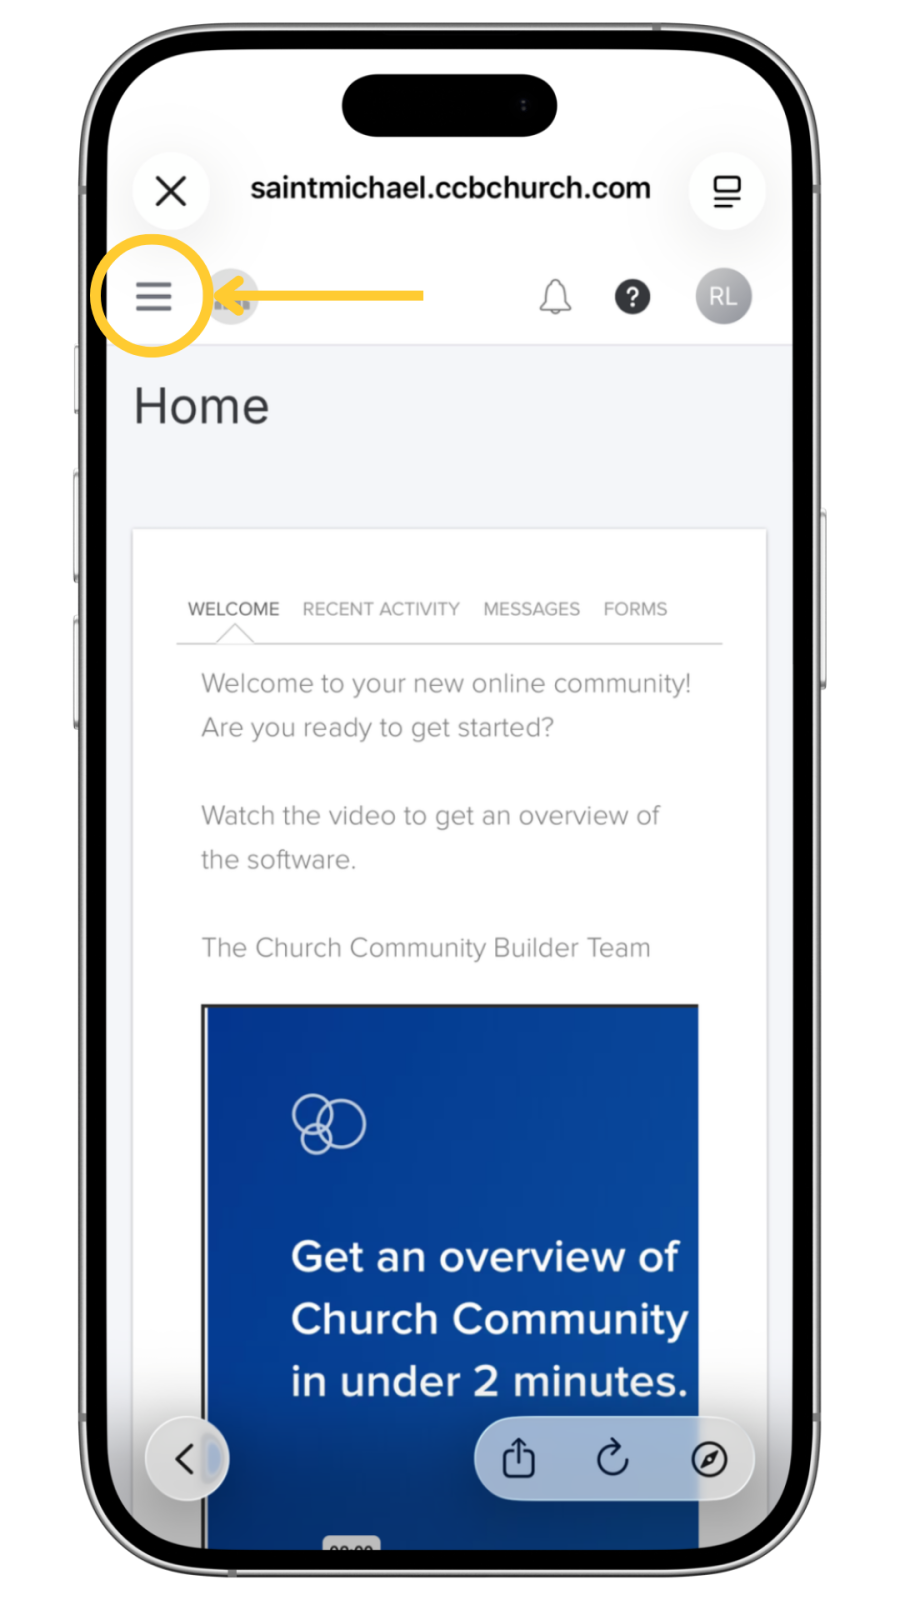
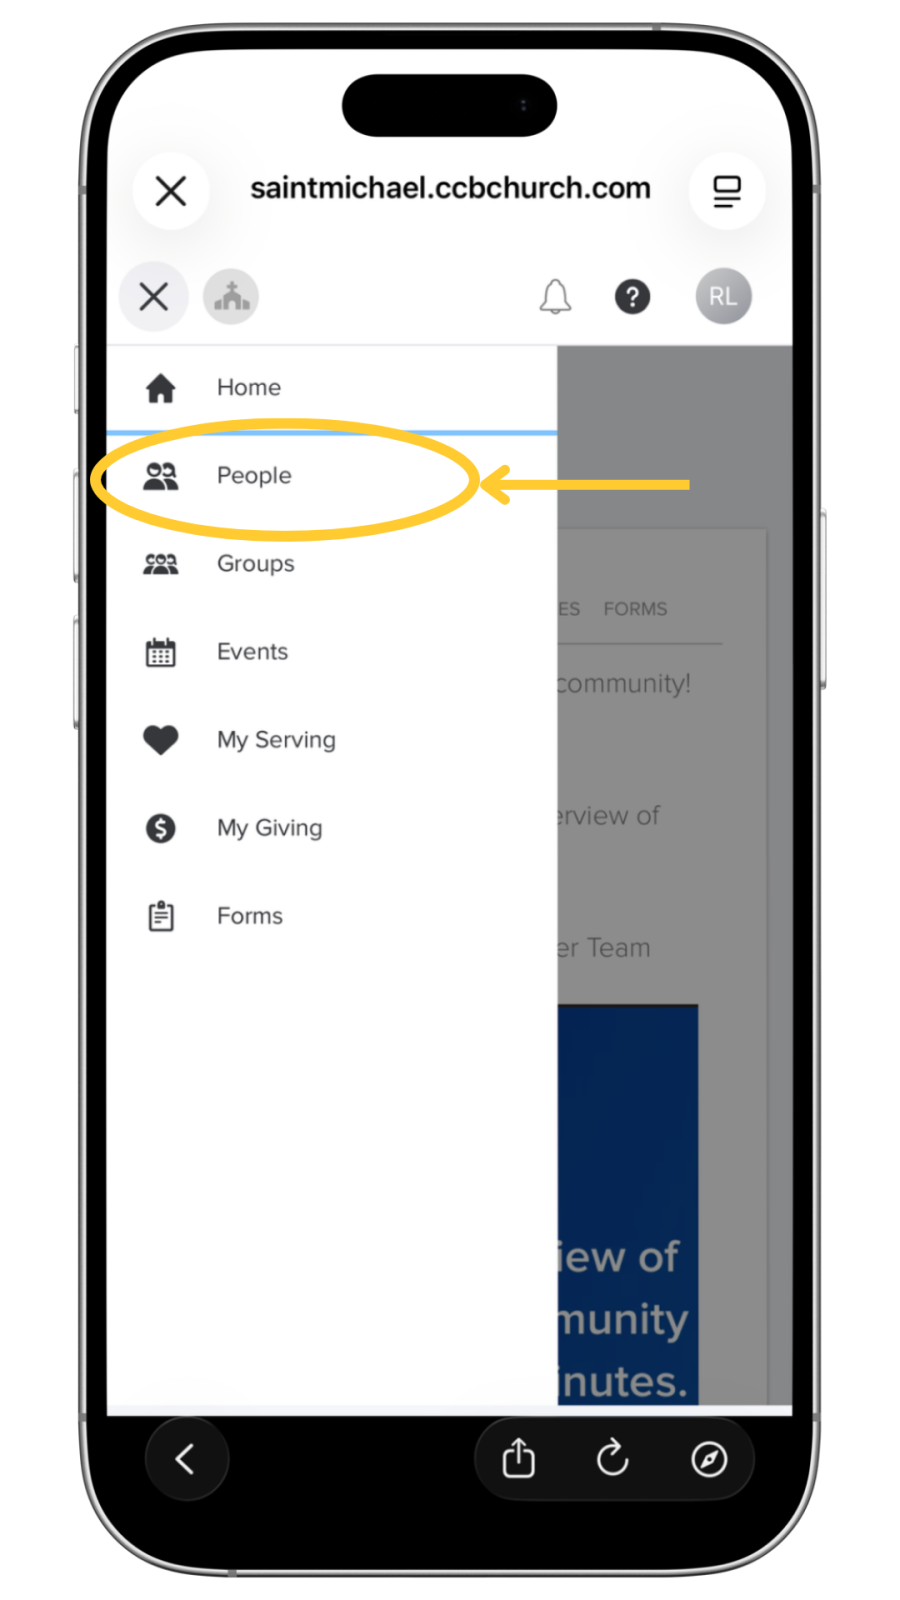
4. Click the menu button in the top, left-hand side of the homepage.
5. Select “People” from the Menu list
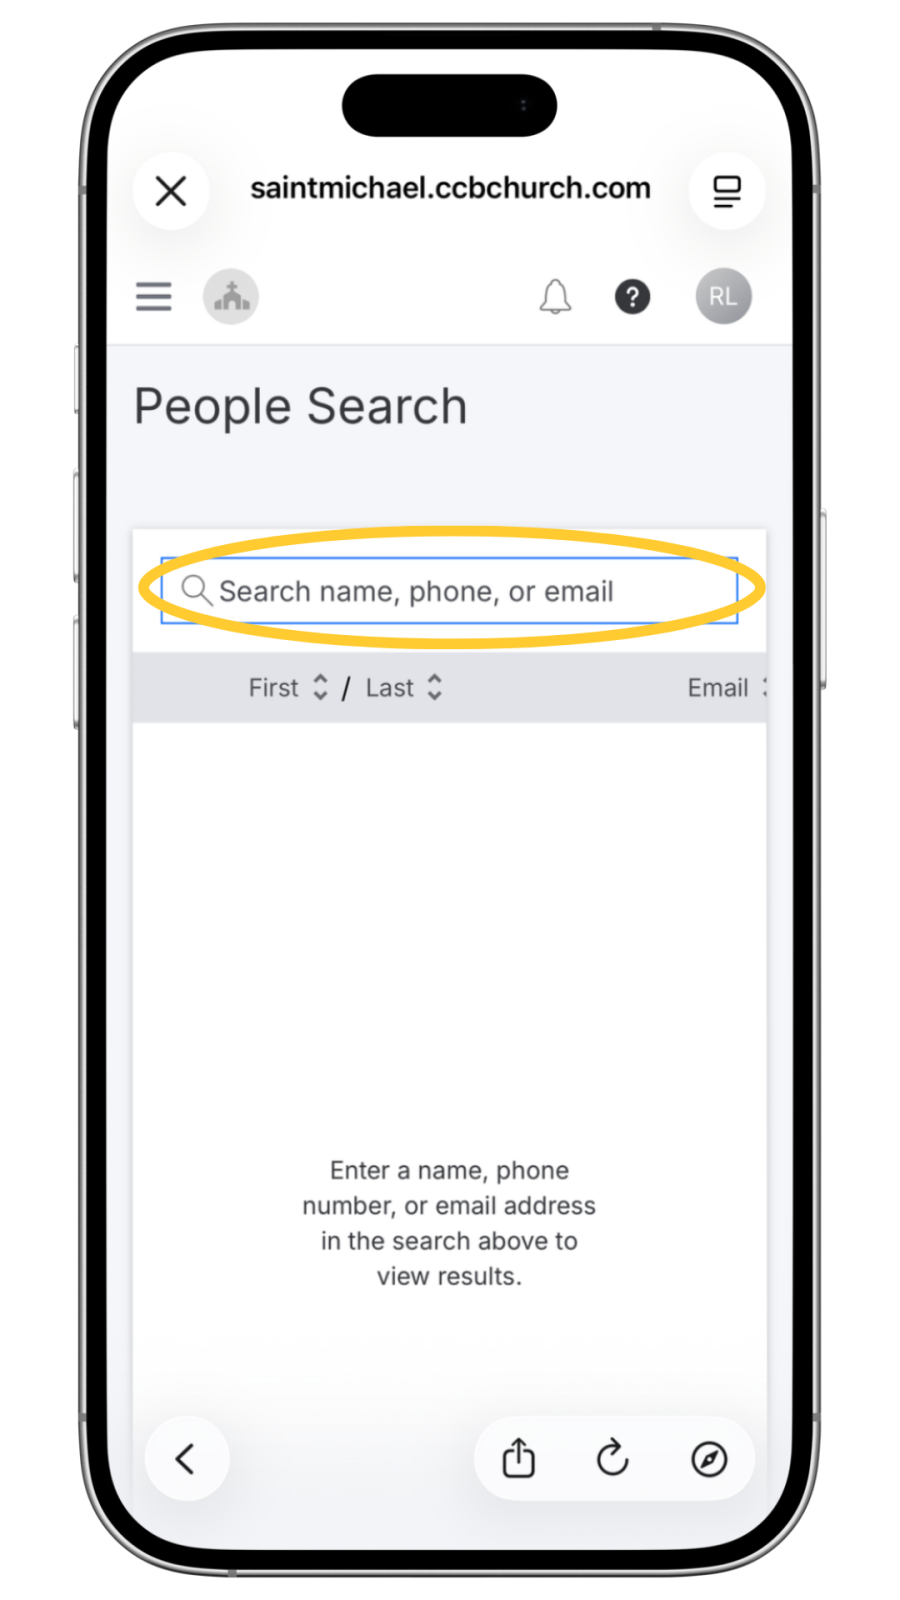
6. Search by entering the name, phone, or email of the person you are looking for.
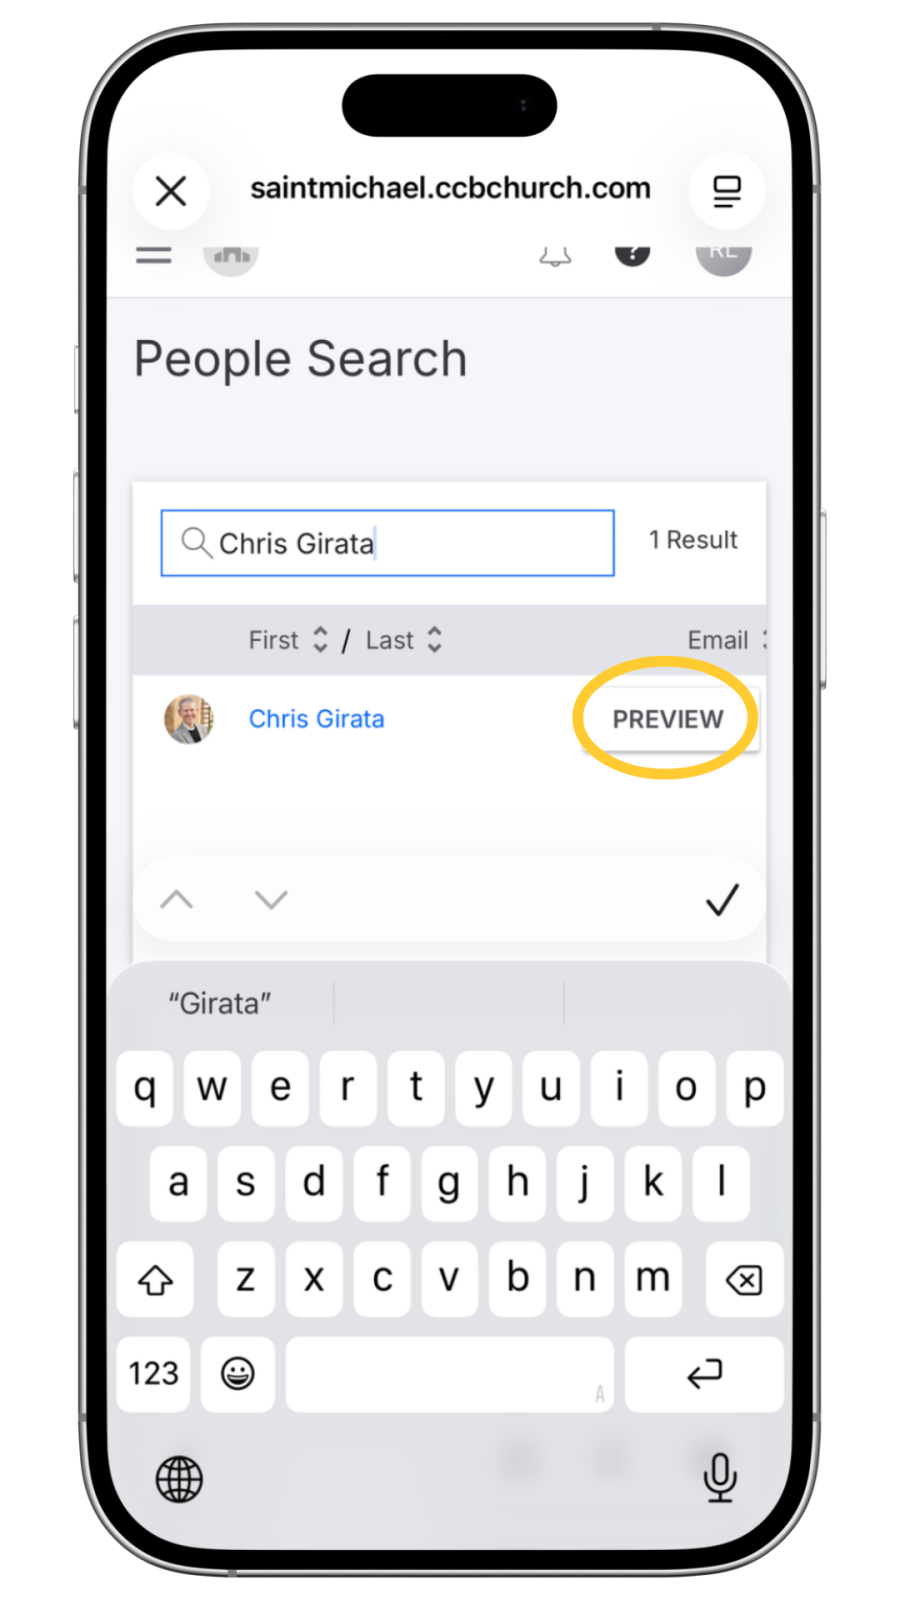
7. Click the “Preview” button next to the person’s name.
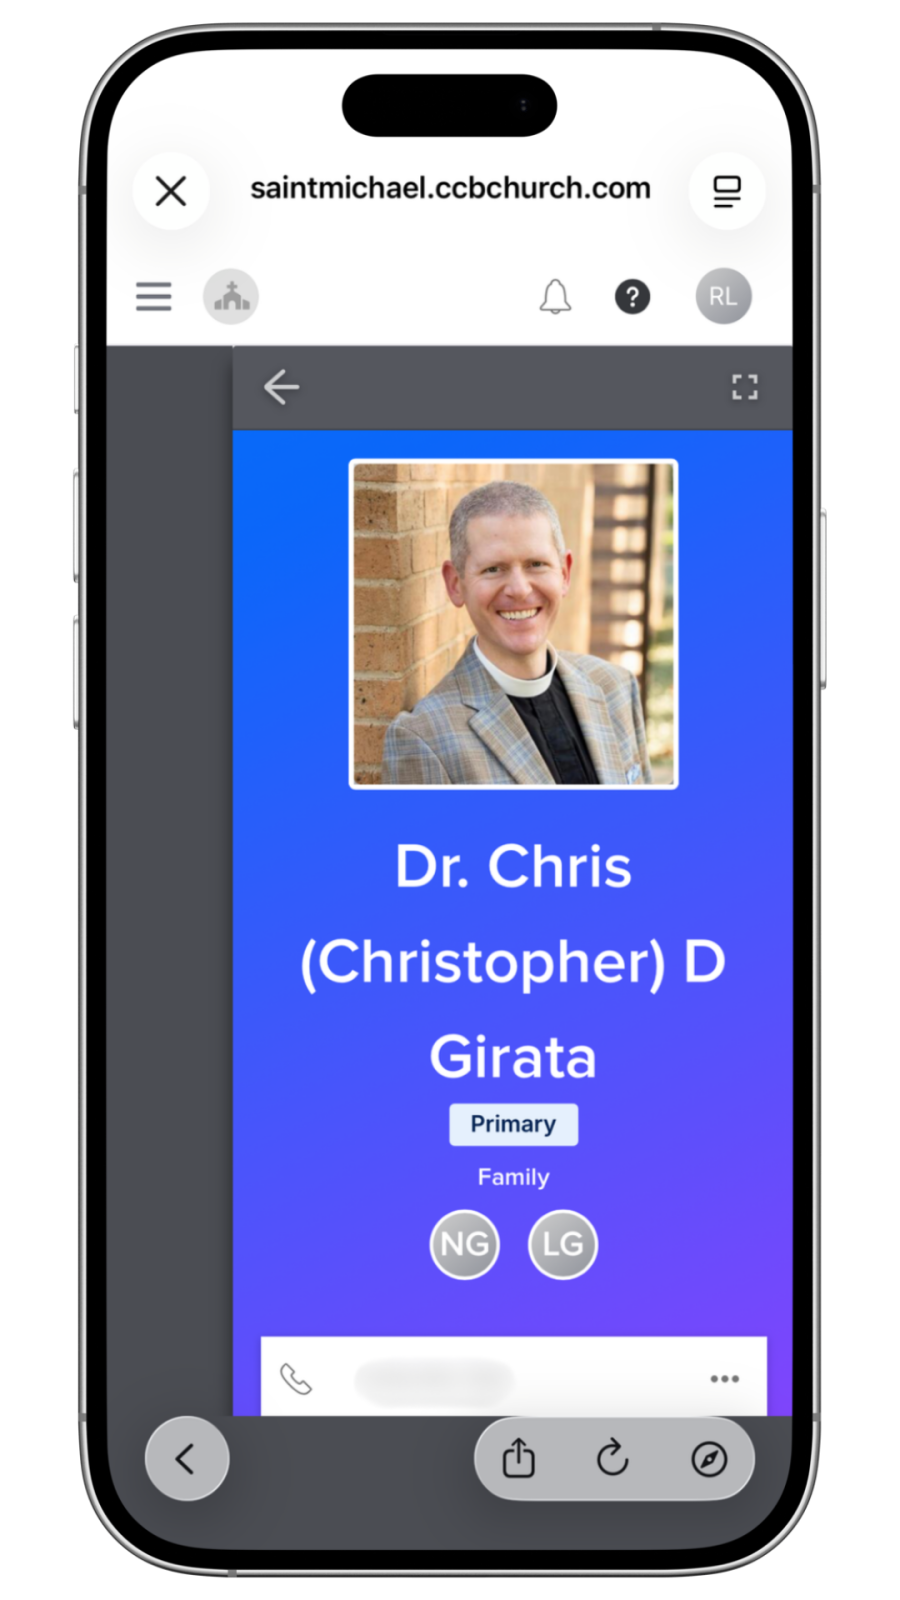
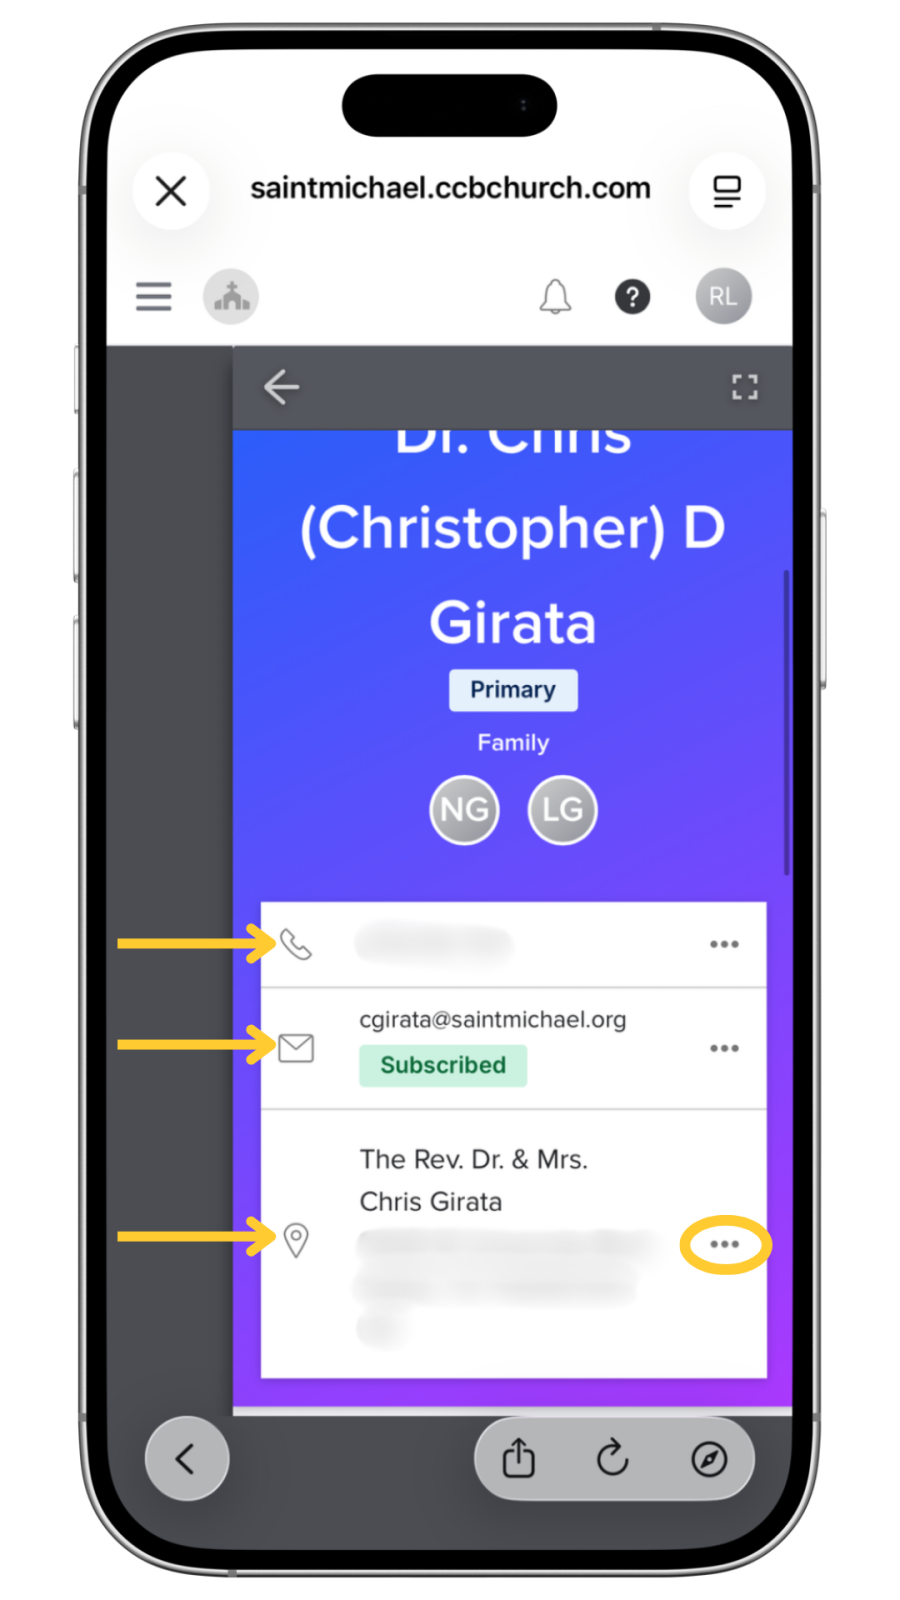
8. Scroll to view the person’s phone, email, and address.
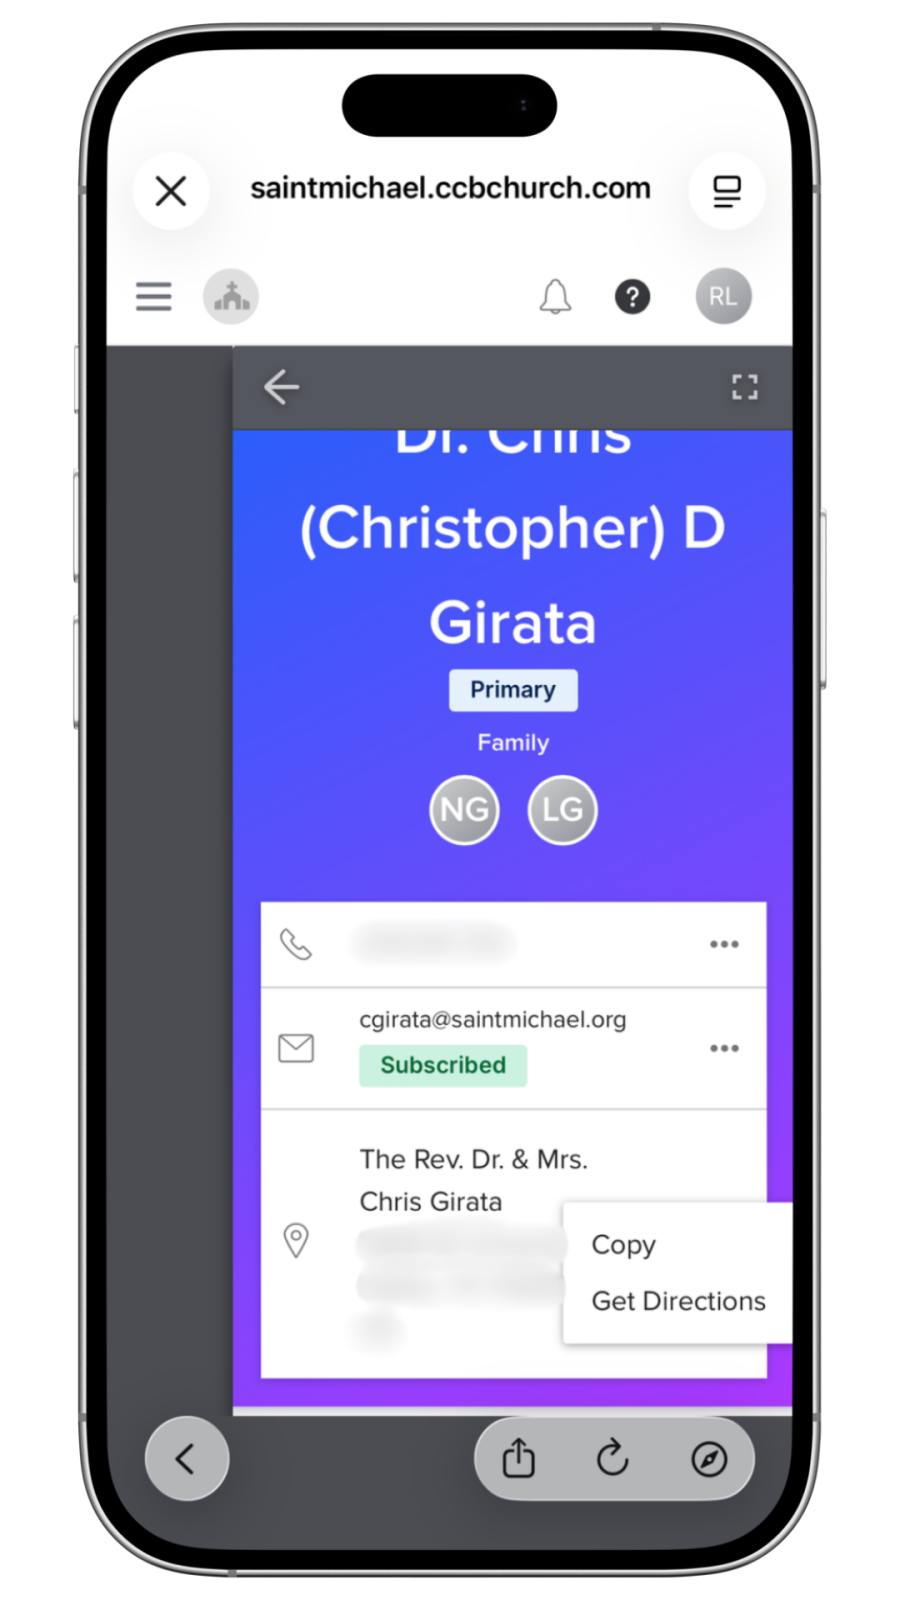
9. Click the “…” next to the phone, email, or address to contact the person, get directions, or copy the information.
Please note: For the best experience, please view the Member Directory on a desktop or laptop.
Managing Privacy Settings
In order to access and edit your privacy settings, you must have an activated login.
- Visit Saint Michael’s Pushpay website: https://saintmichael.ccbchurch.com/goto/login
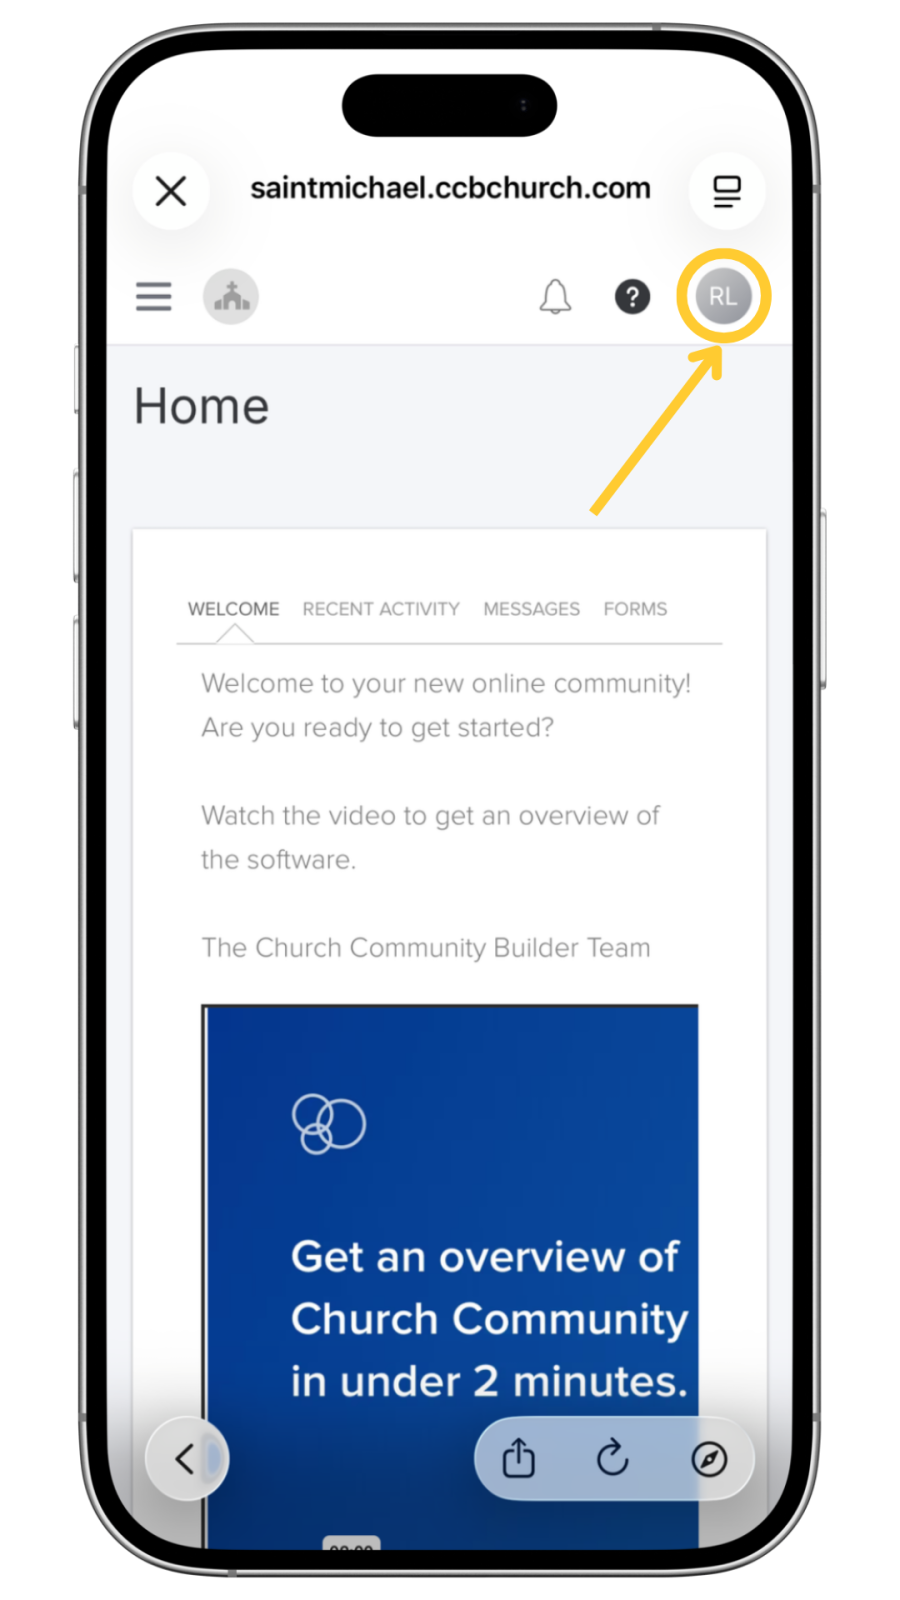
- Click on the profile circle icon in the top right corner.
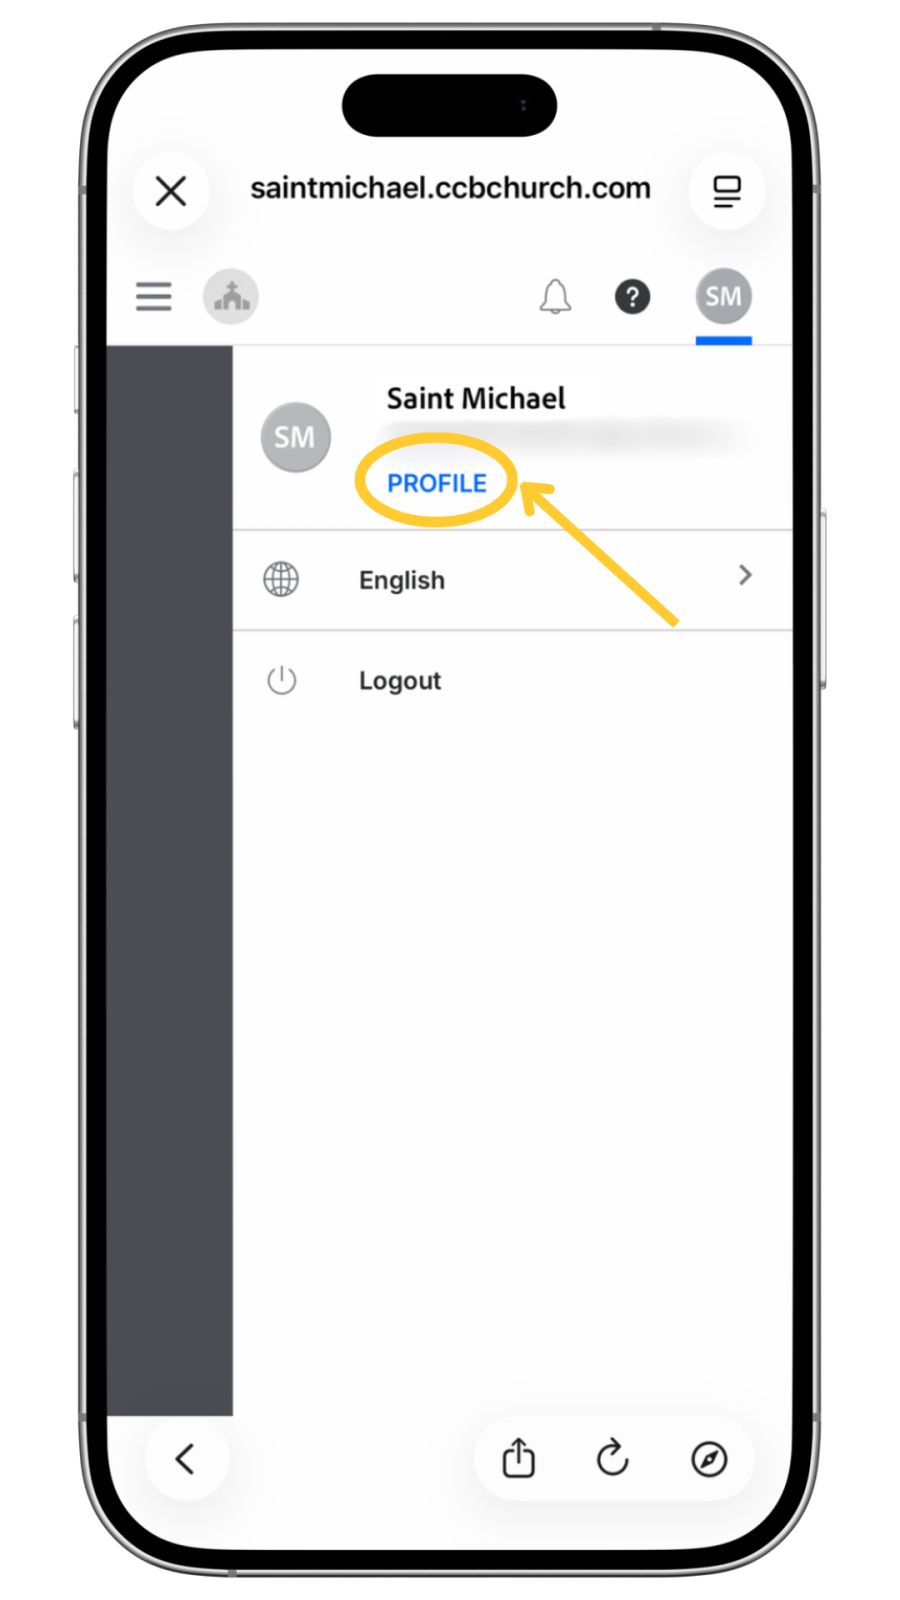
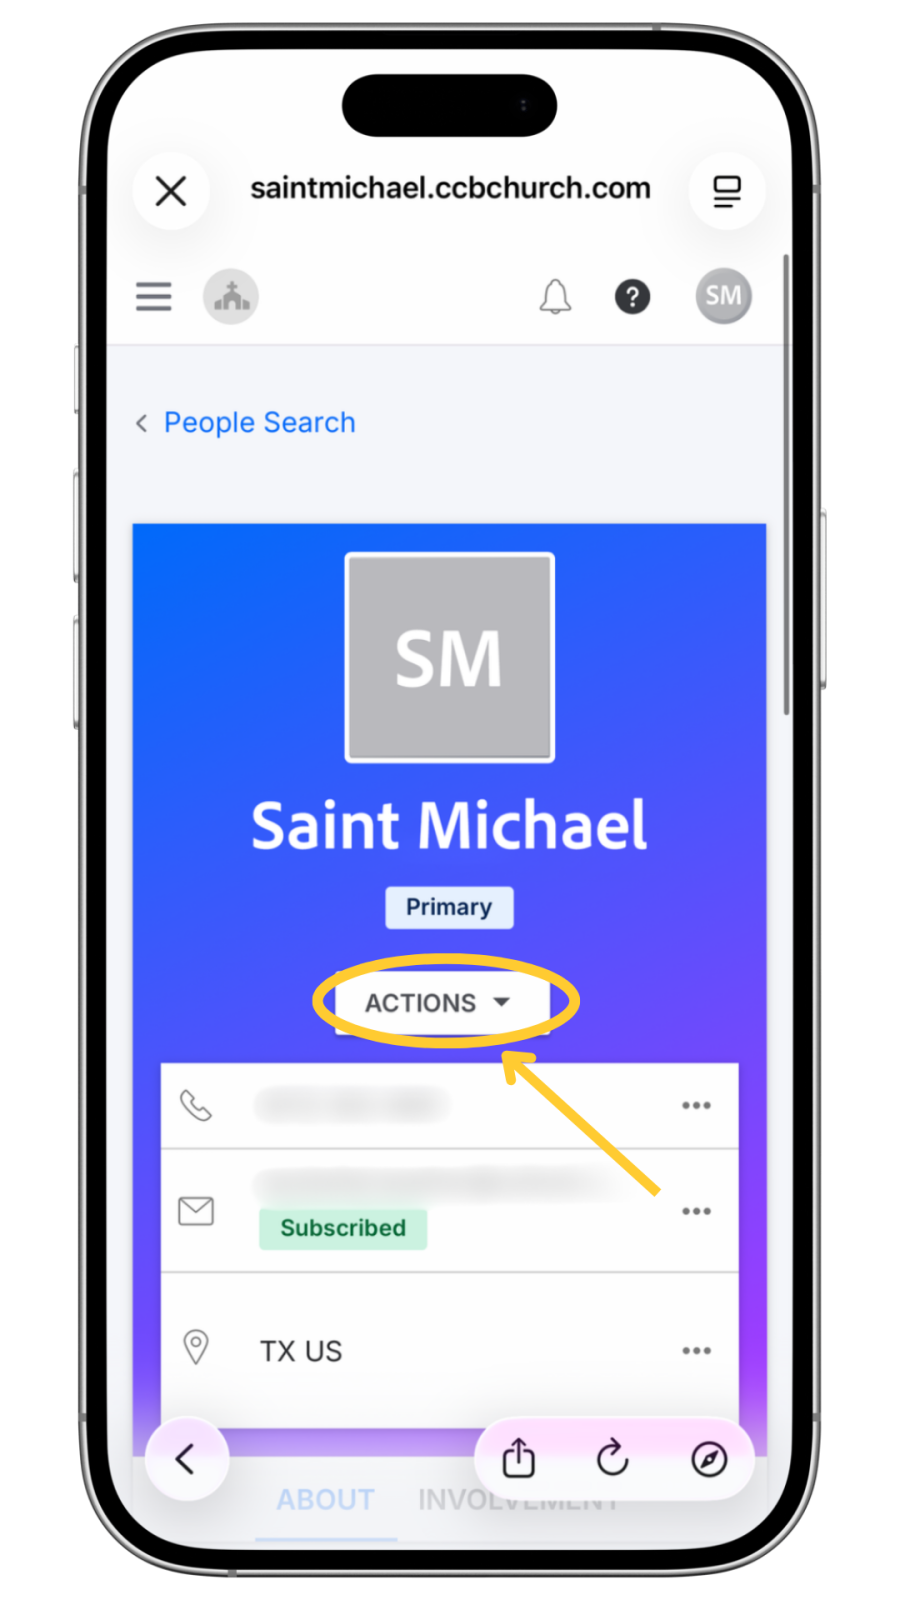
3. Select Profile, then Actions, then Privacy.

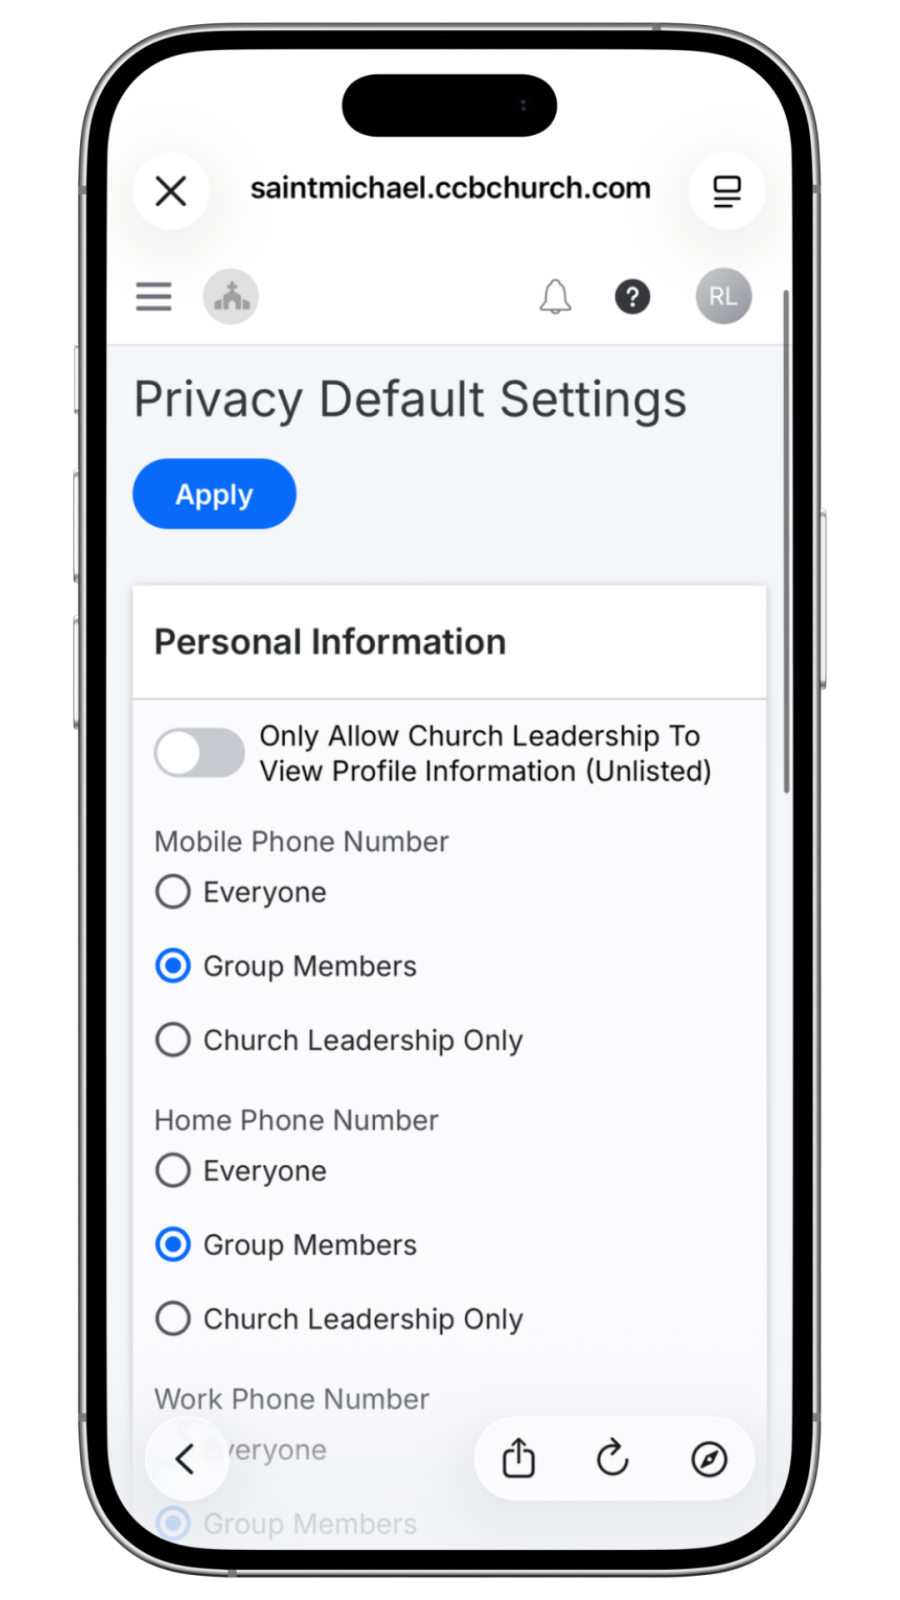
4. You can toggle on the option to “Only Allow Church Leadership to View Profile Information” to restrict all fields to church leadership only.
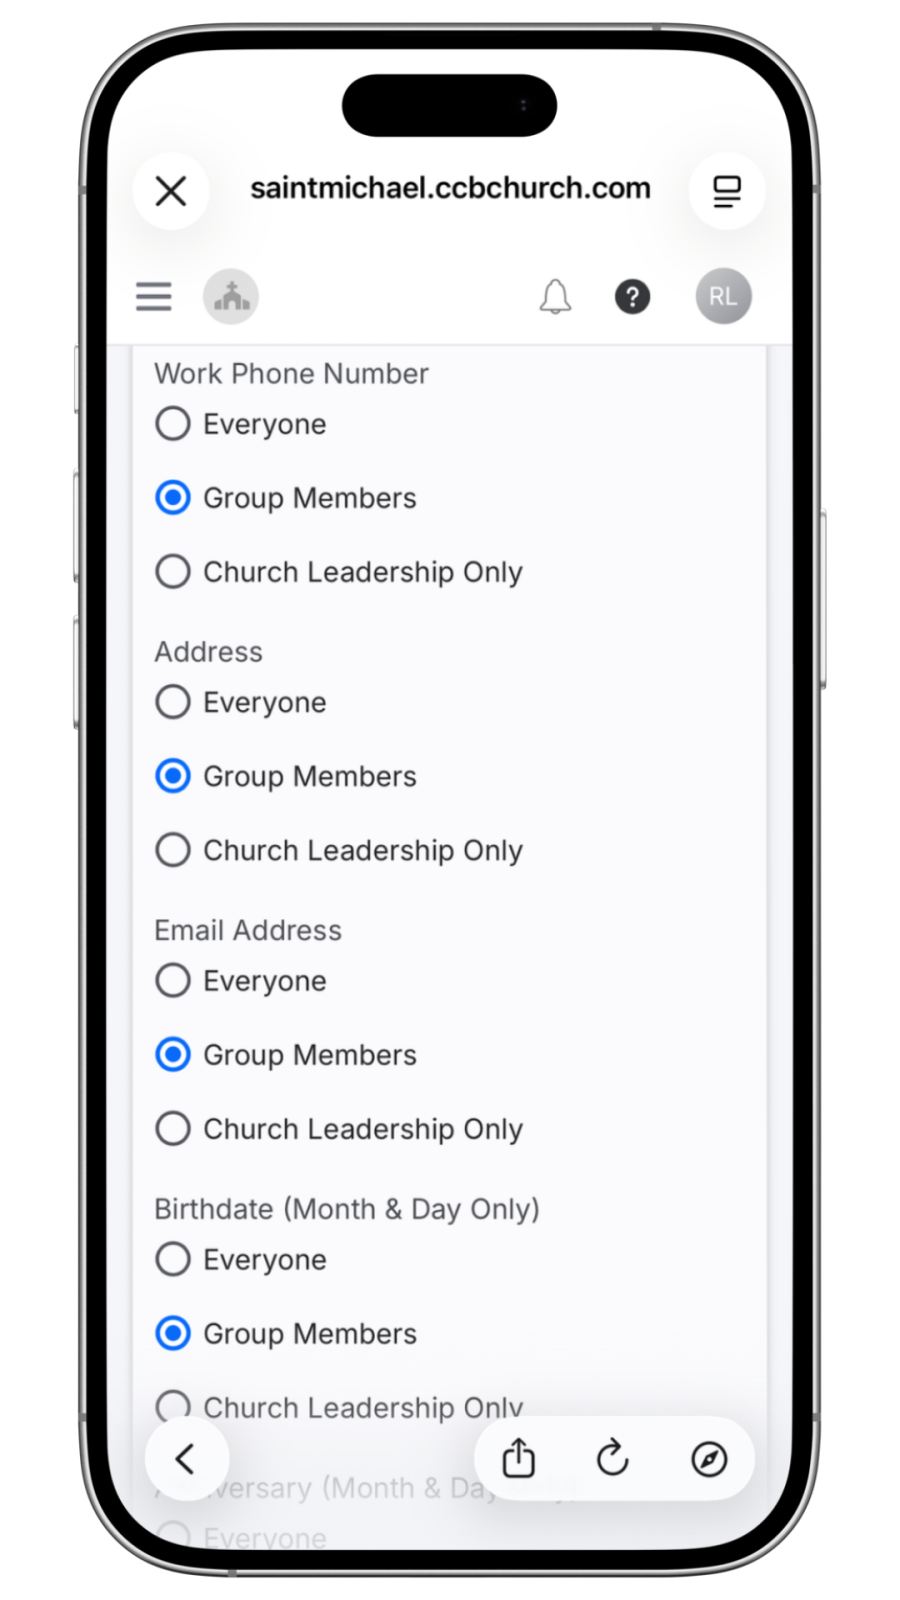
5. Alternatively, you can customize visibility for individual fields (i.e., phone number, address, and email address) by selecting “Everyone” or “Group Members” options for each piece of information.
6. Click “Apply” to save your settings.

Please note: For the best experience, please view the Member Directory on a desktop or laptop.